A Behind The Scenes Look At Hiring An Interior Stylist
I know it can be hard to ask for help, especially when it comes to decorating your home. As a result, a lot of people DIY it, and get really frustrated in the process.
Have you been working hard fighting through it alone? Maybe you’ve spent a lot of time buying things then driving back to return them because they don’t look good in your space. Perhaps you’re overwhelmed by the thought of decorating and don’t even know where to start.
Oftentimes in situations like these, there’s one thing stopping you from reaching out for help: the fear of the unknown. You might be wondering: how much is it gonna cost? How long will it take? Will I even like it when it’s done?
In an effort to allay your fears, this week’s post is a behind the scenes look at what happens, step by step, when you hire me…
Step 1: A Conversation
First I check out the room(s) in need of some love, either in person if you live near Philly, or virtually. Then I have a conversation with you about what your specific needs are.
This is when I really try to get to know you on a personal level. I’m fully interested in what you love: your hobbies, your favorite colors, your least favorite colors, and your general style preferences. I also want to know how you use the room(s) and how you want your home to feel. Are you craving something sleek and sophisticated? Or do you want your home to feel casual and relaxed?
If you’re reading this and starting to panic because you don’t know the answers to all those questions, it’s okay! I’ve had several clients give me little to no information because they were unsure of their preferences. One such client recently told me after her project was done: “This room is everything I wanted, but didn’t even know I wanted.” Cue the heart explosion. There’s nothing better than bringing a client’s dream home to life.
Step 2: The Budget Discussion
When I ask you about your budget, I want to know how much you feel comfortable spending on the items I’m selecting for you. Some of my clients have been fortunate enough to be able to give me an open ended budget, but most people have a bottom line.
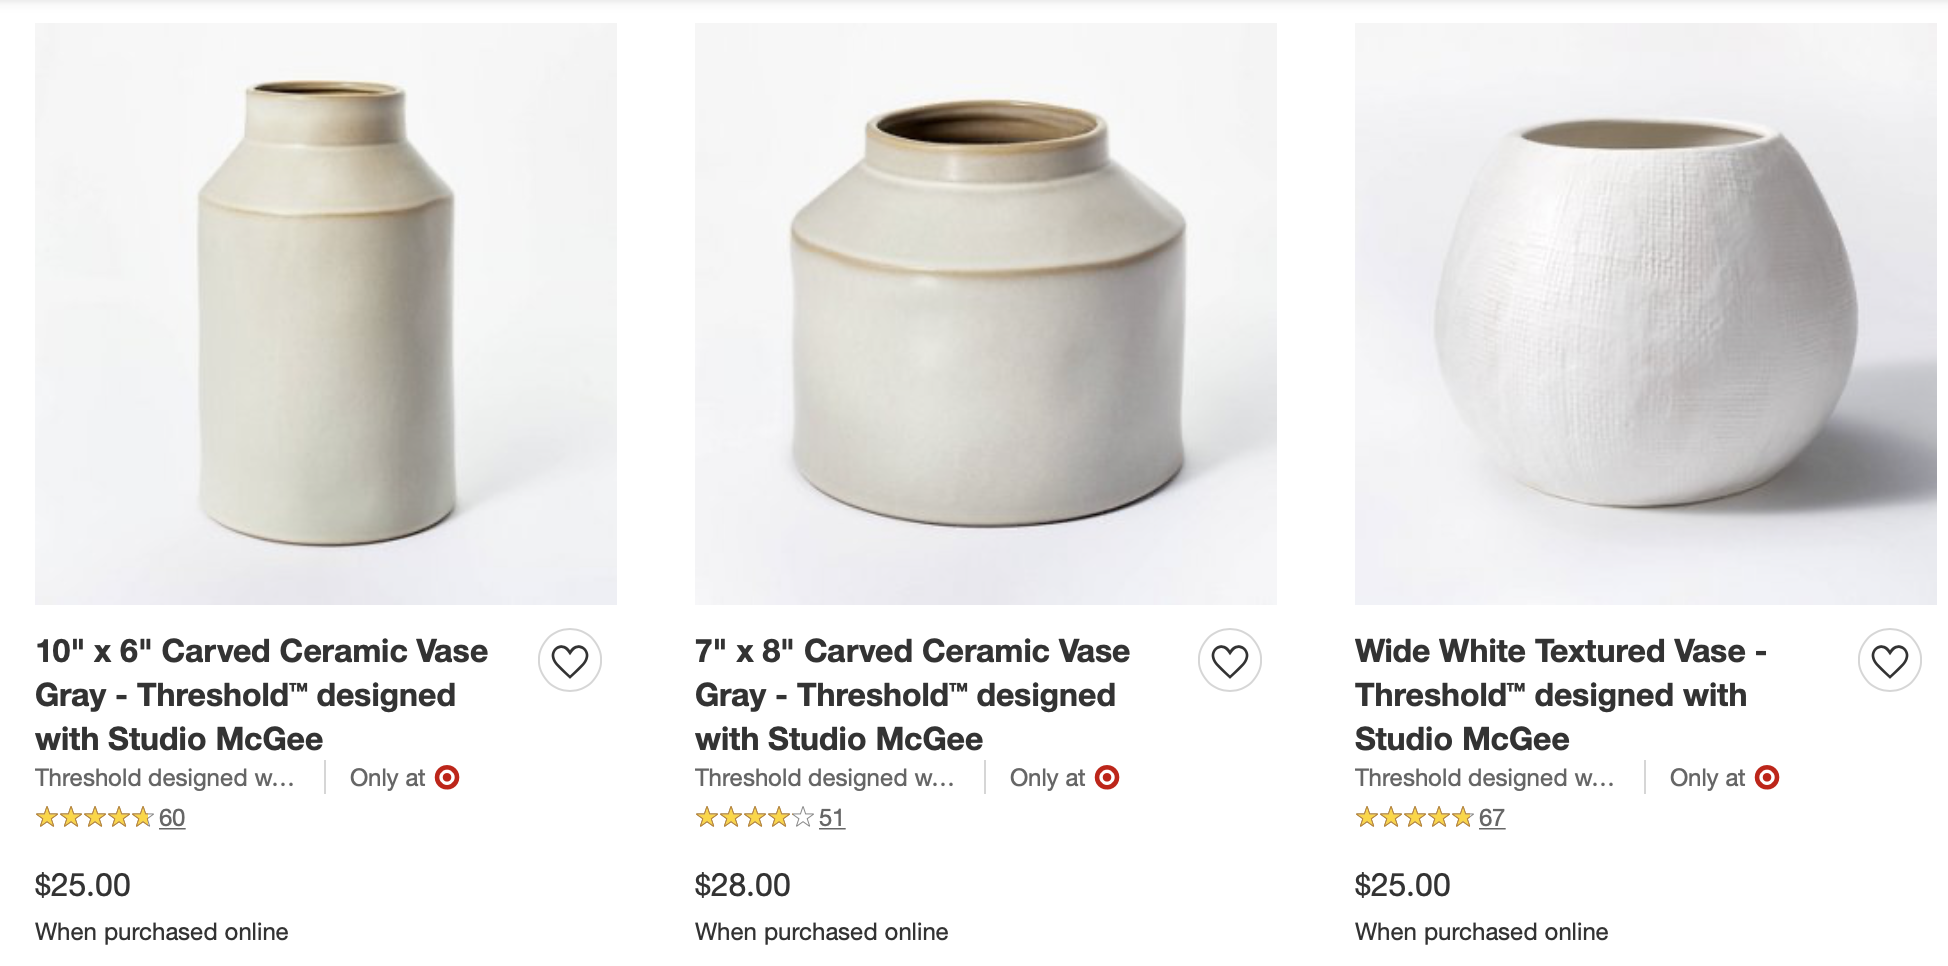
Sometimes people feel stuck at this point and don’t know what to say or write (if they’re filling out my questionnaire virtually). When clients express anxiety at this stage, I don’t press them for a specific number, instead I ask them where would they feel most comfortable shopping:
Amazon and Target (budget friendly)
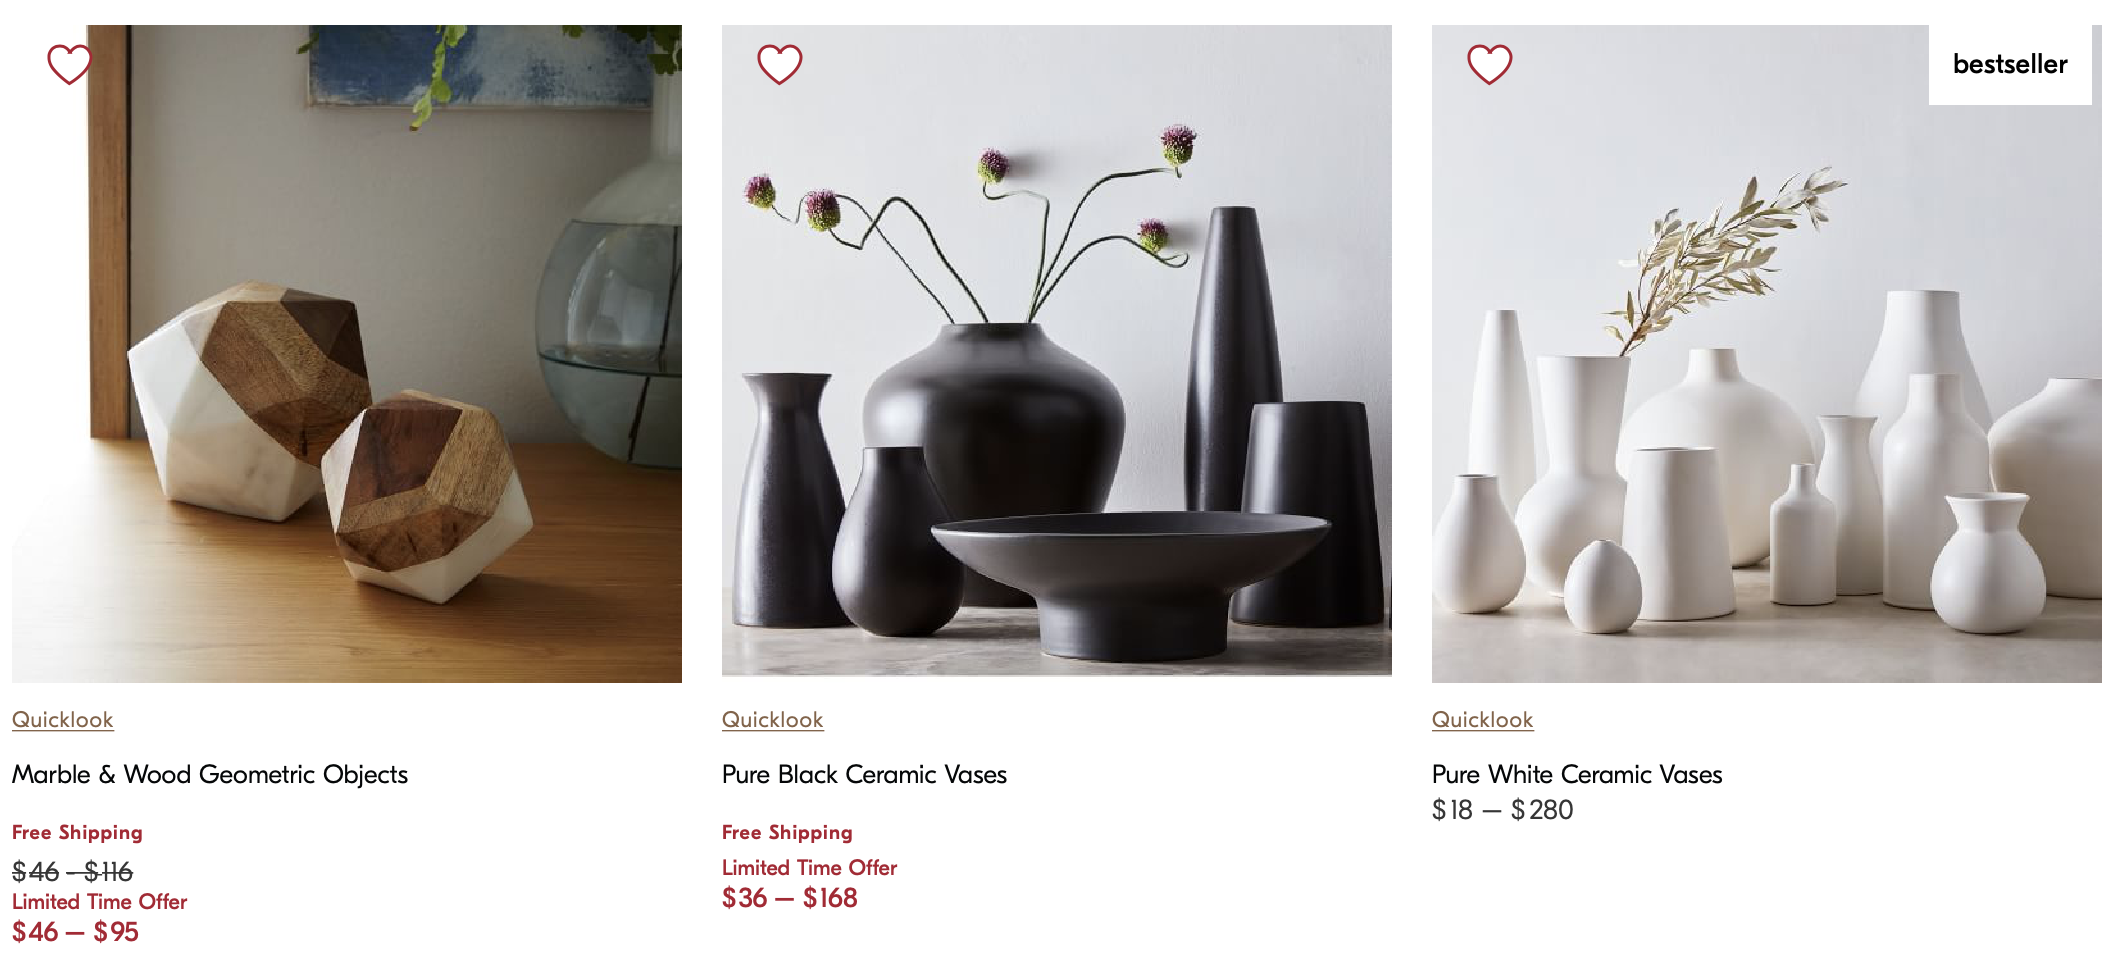
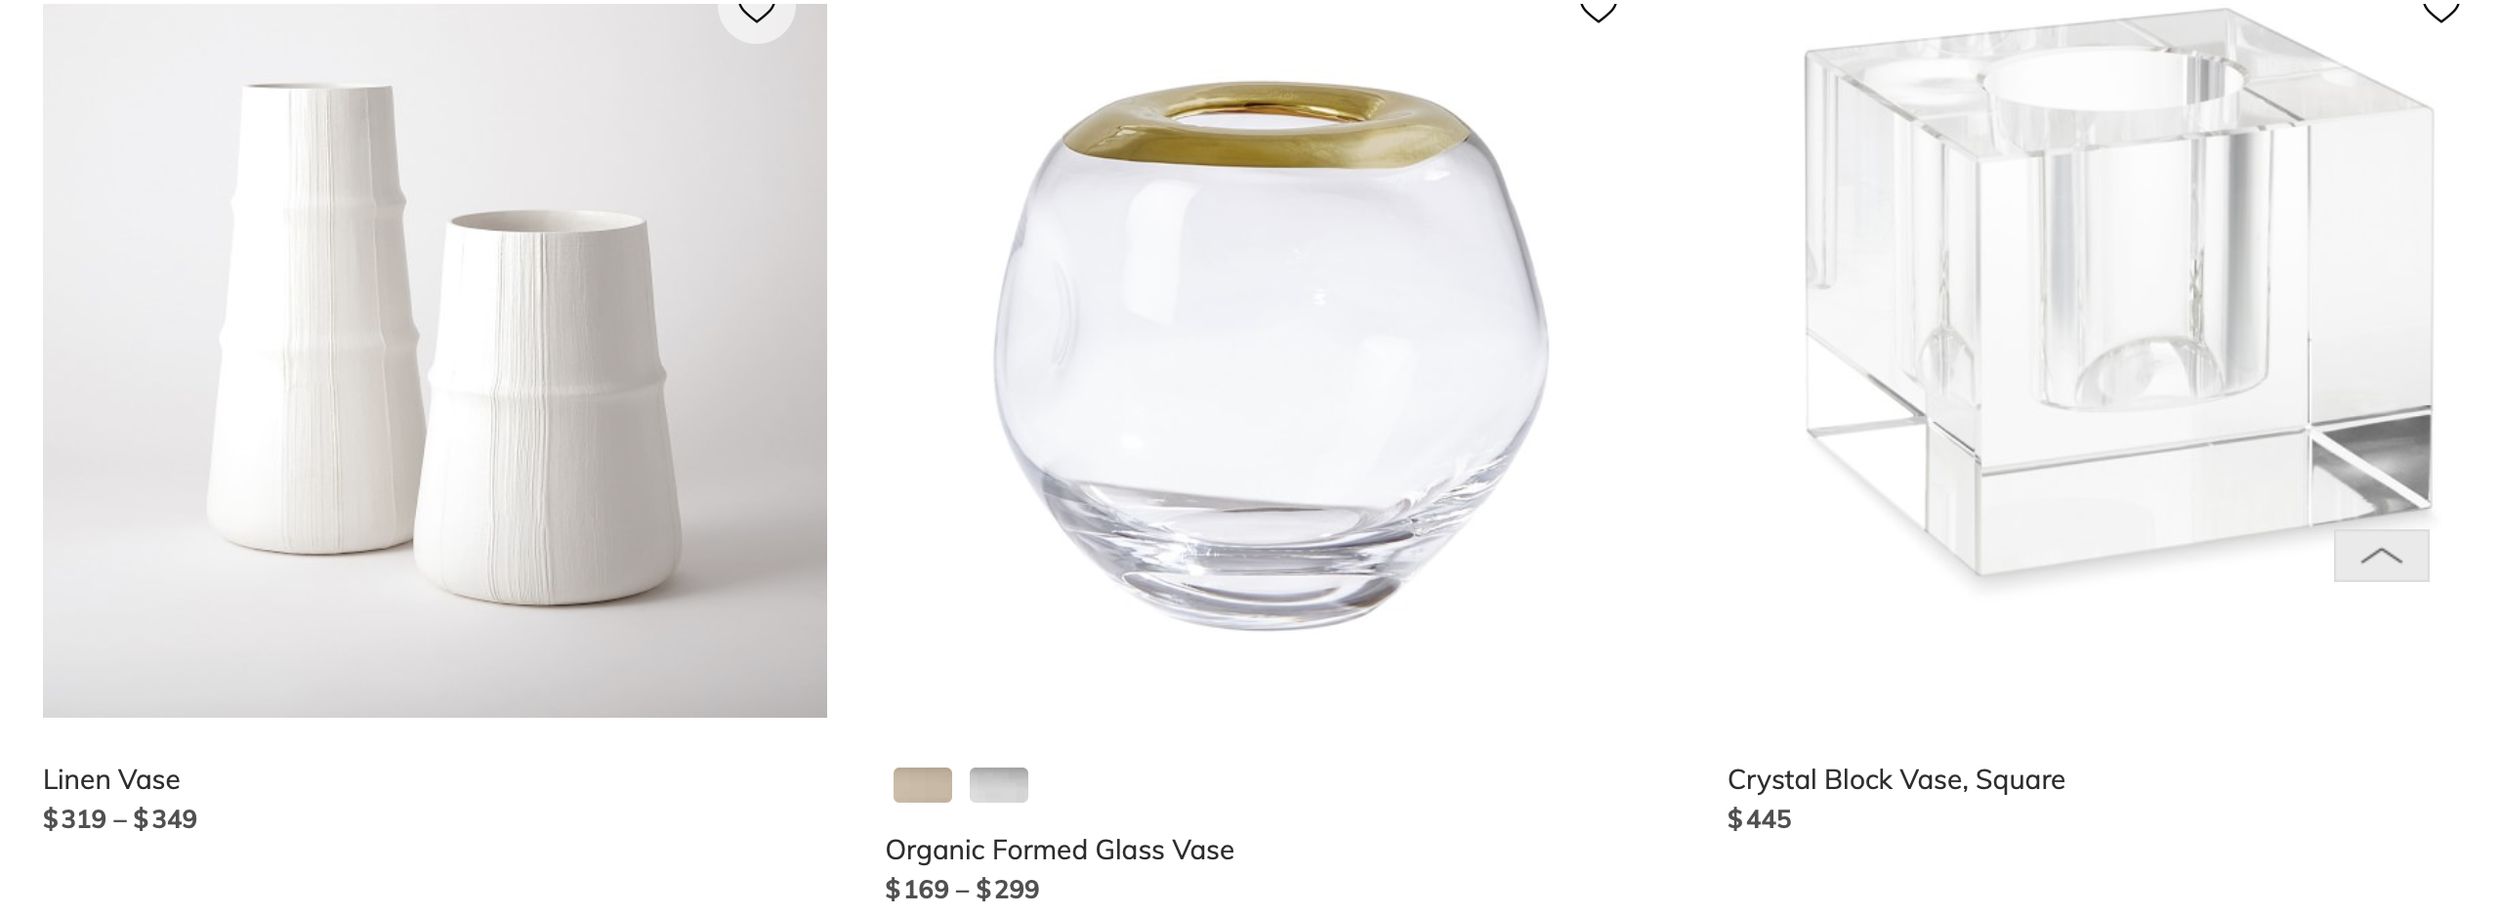
Pottery Barn, West Elm, Crate & Barrel (mid-range)
or William Sonoma, Mitchell Gold & Bob Williams (high end).
If you’ve got a lower budget, don’t be shy about telling me. I was raised by budget conscious parents so I know how to give you the best bang for your buck. Besides, I treat my clients’ money, like it’s my own. Anyone I’ve ever worked with can attest to that.
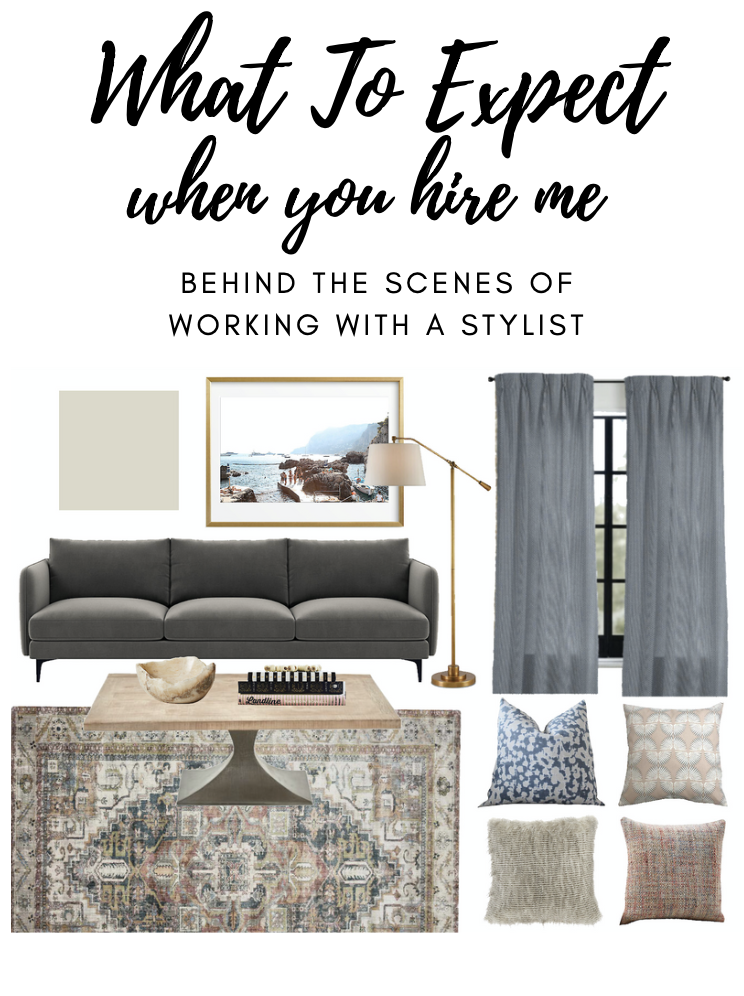
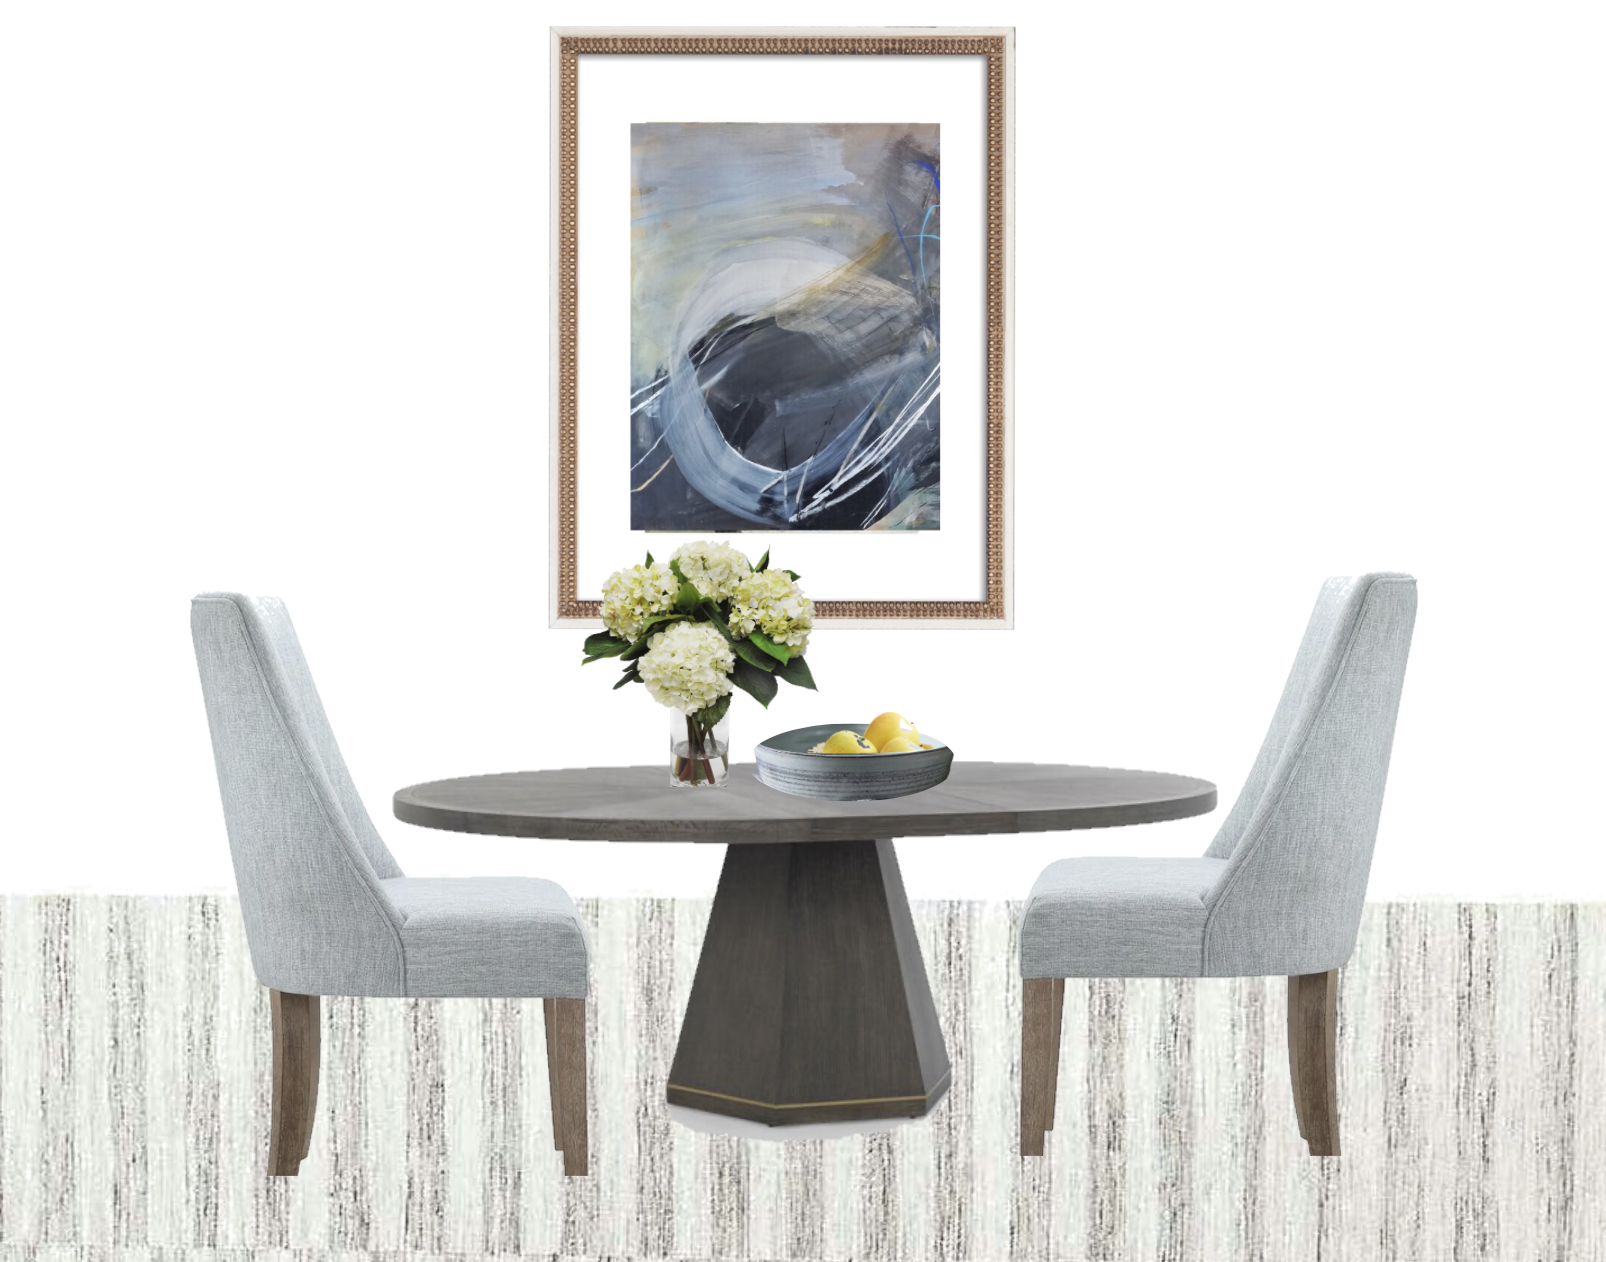
Step 3: Board Building
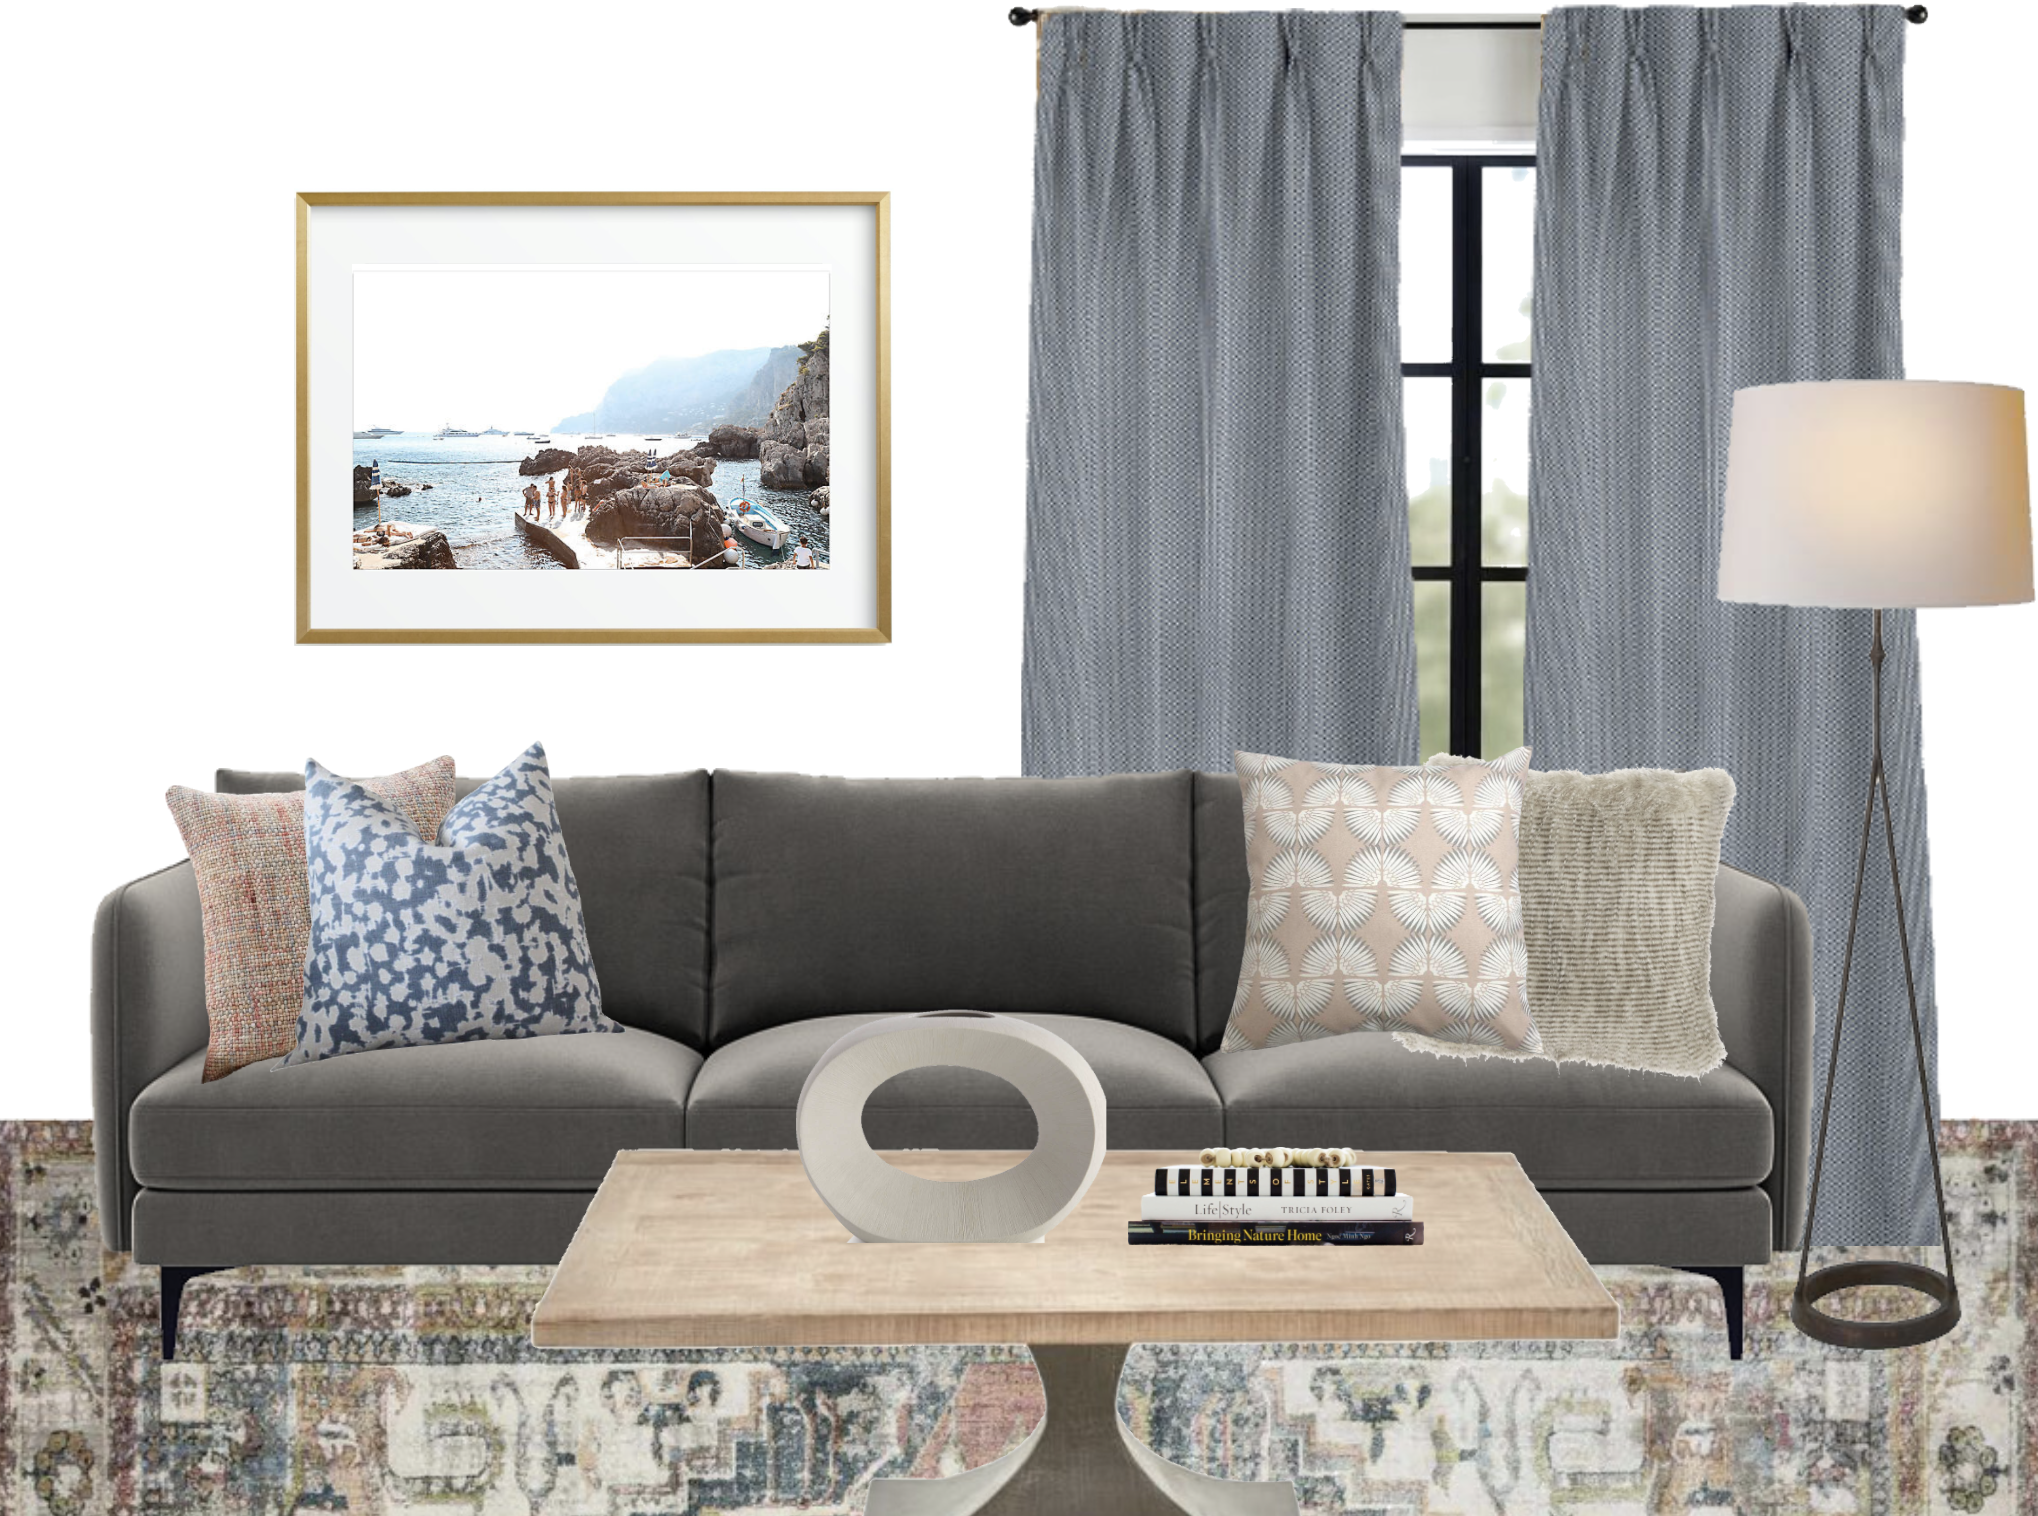
Once I have all the background information I need, I create your design board. This happens virtually through a design program called Design Files. Room boards typically take me anywhere from 3-6 hours to complete. There’s a few things that affect the time frame. Number one: the number if items you need. Obviously the less items you need the less time your board will take, and vice versa. Number two: the type of items you need. Items that have specific size requirements like furniture, rugs, and artwork take longer to source, especially when the budget is limited.
Step 4: Revisions
After the board is done, I send the first draft. In some cases my clients have said, “I’ll take everything!” But in most cases, it’s a give and take conversation. I won’t try to persuade you to love something, but I will state the case for what I think will look best in your space, and why.
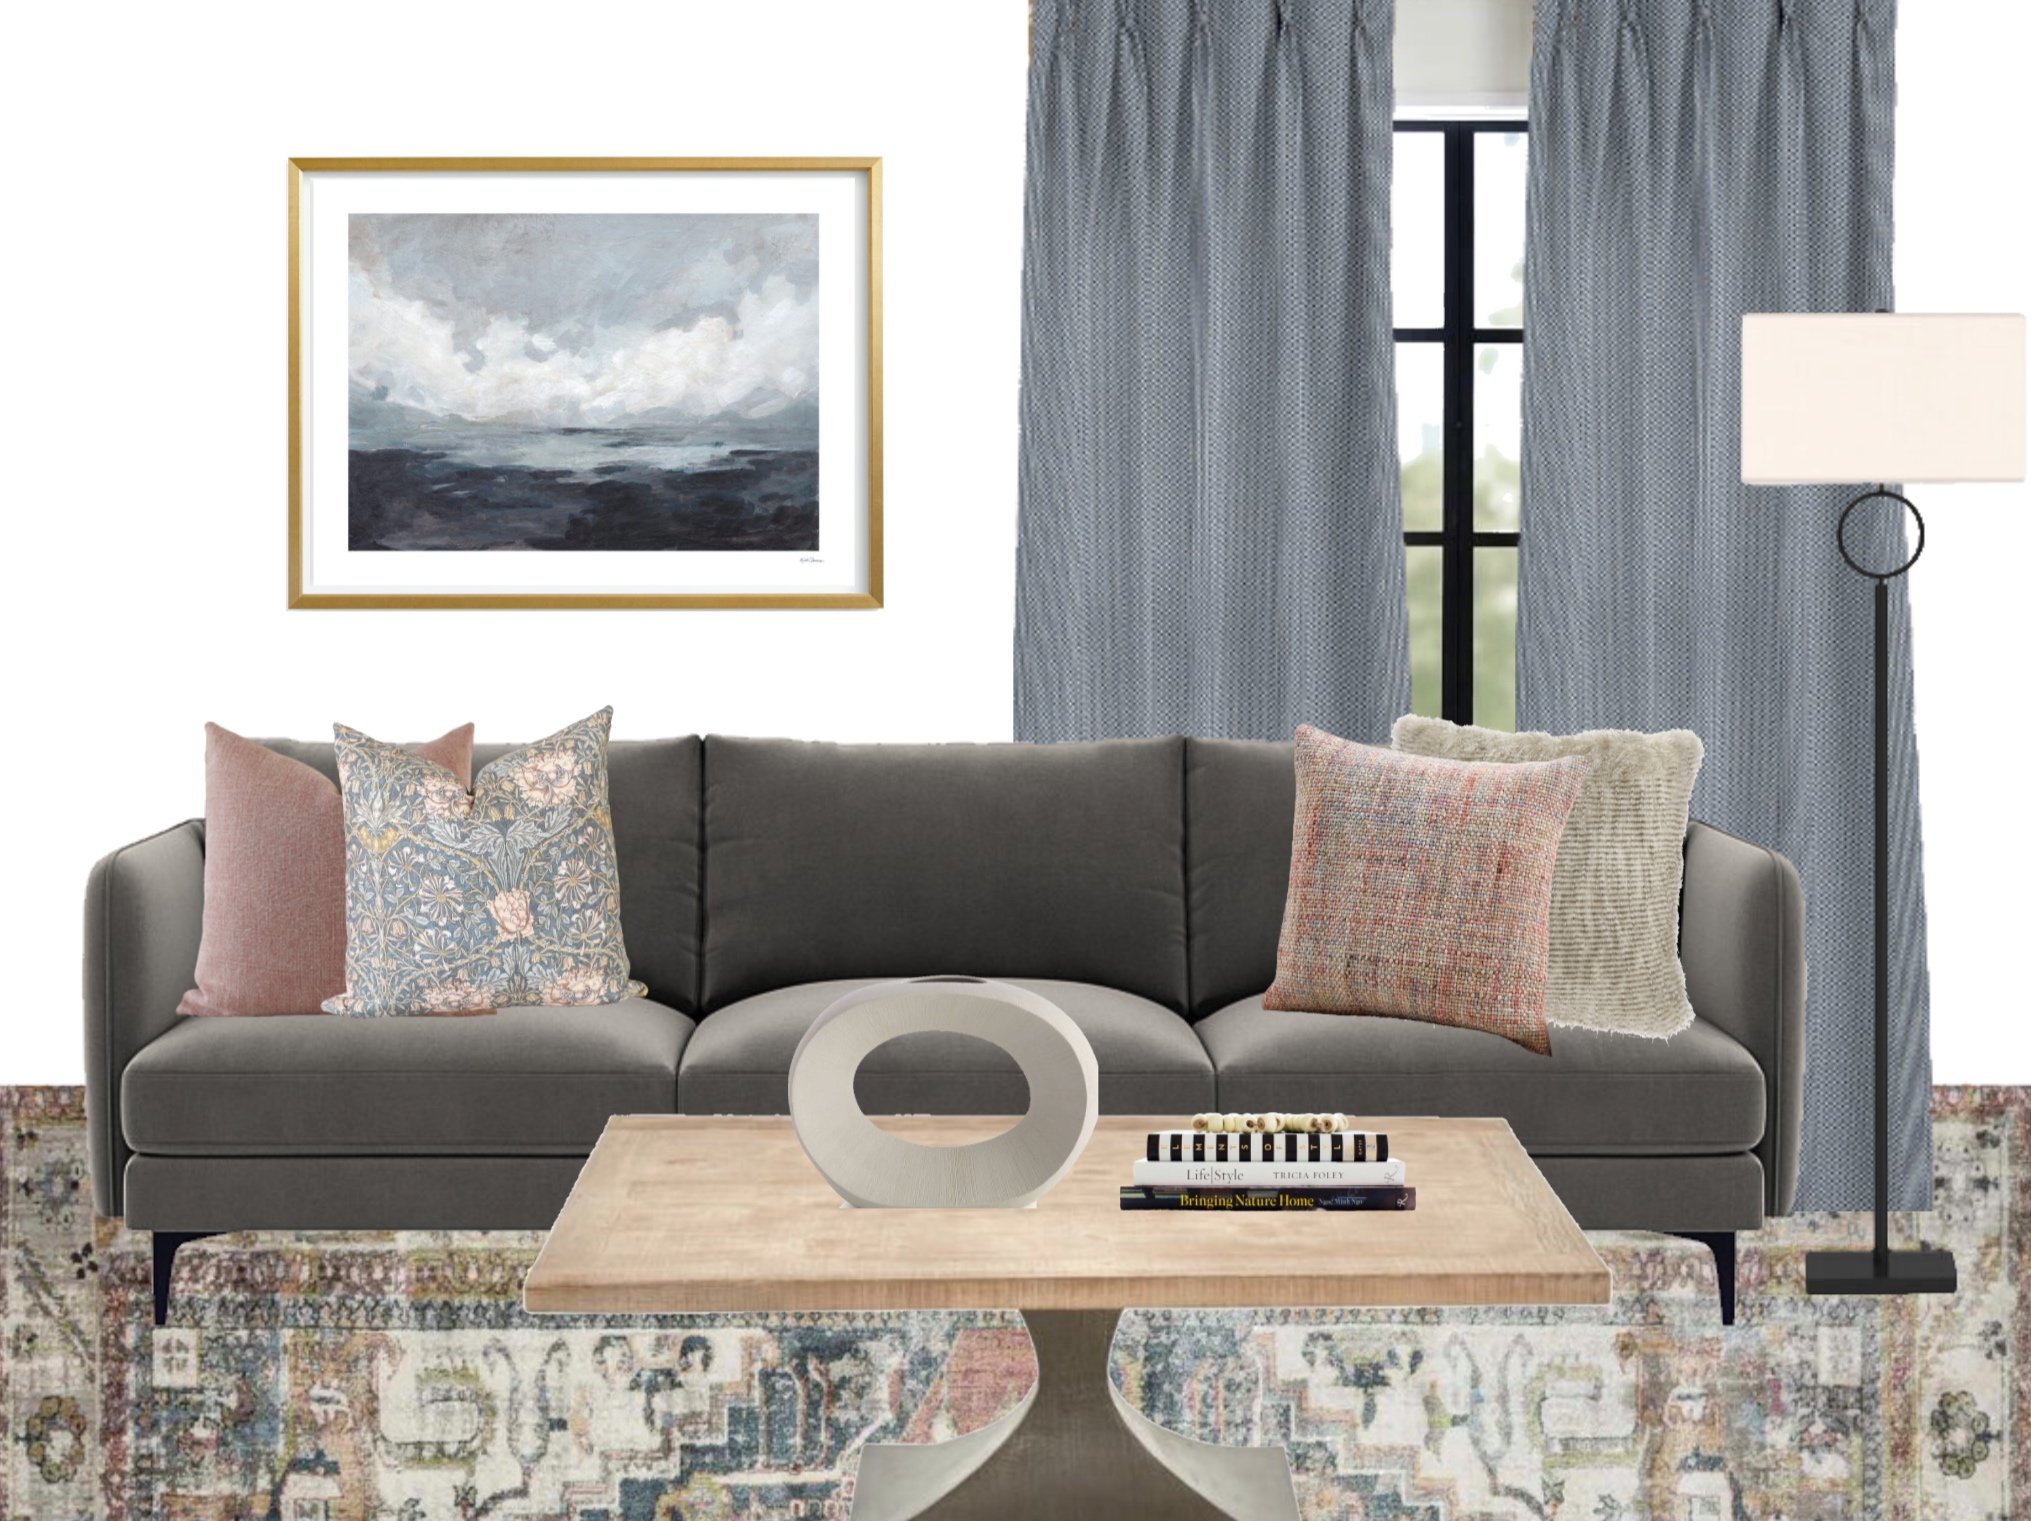
If you’re in not in love with your board at first sight, that’s okay! We’ll work together to turn it into something you do love.
It’s always helpful when clients give me very specific feedback. The more specific you are, the more I can hone in on what exactly you’re looking for. One client rejected a linen pillow that seemed to fit perfectly in her design scheme. When I asked her why she didn’t like it, she told me the geometric design felt too modern. She also mentioned that she didn’t love the linen look. That was exactly the feedback I needed to hone in on the right pillow. I switched it with a silk velvet pillow and she loved the new edition.
Step 5: Final Approval & Purchasing
Once you’re completely satisfied with the board, it’s time for you to go shopping!
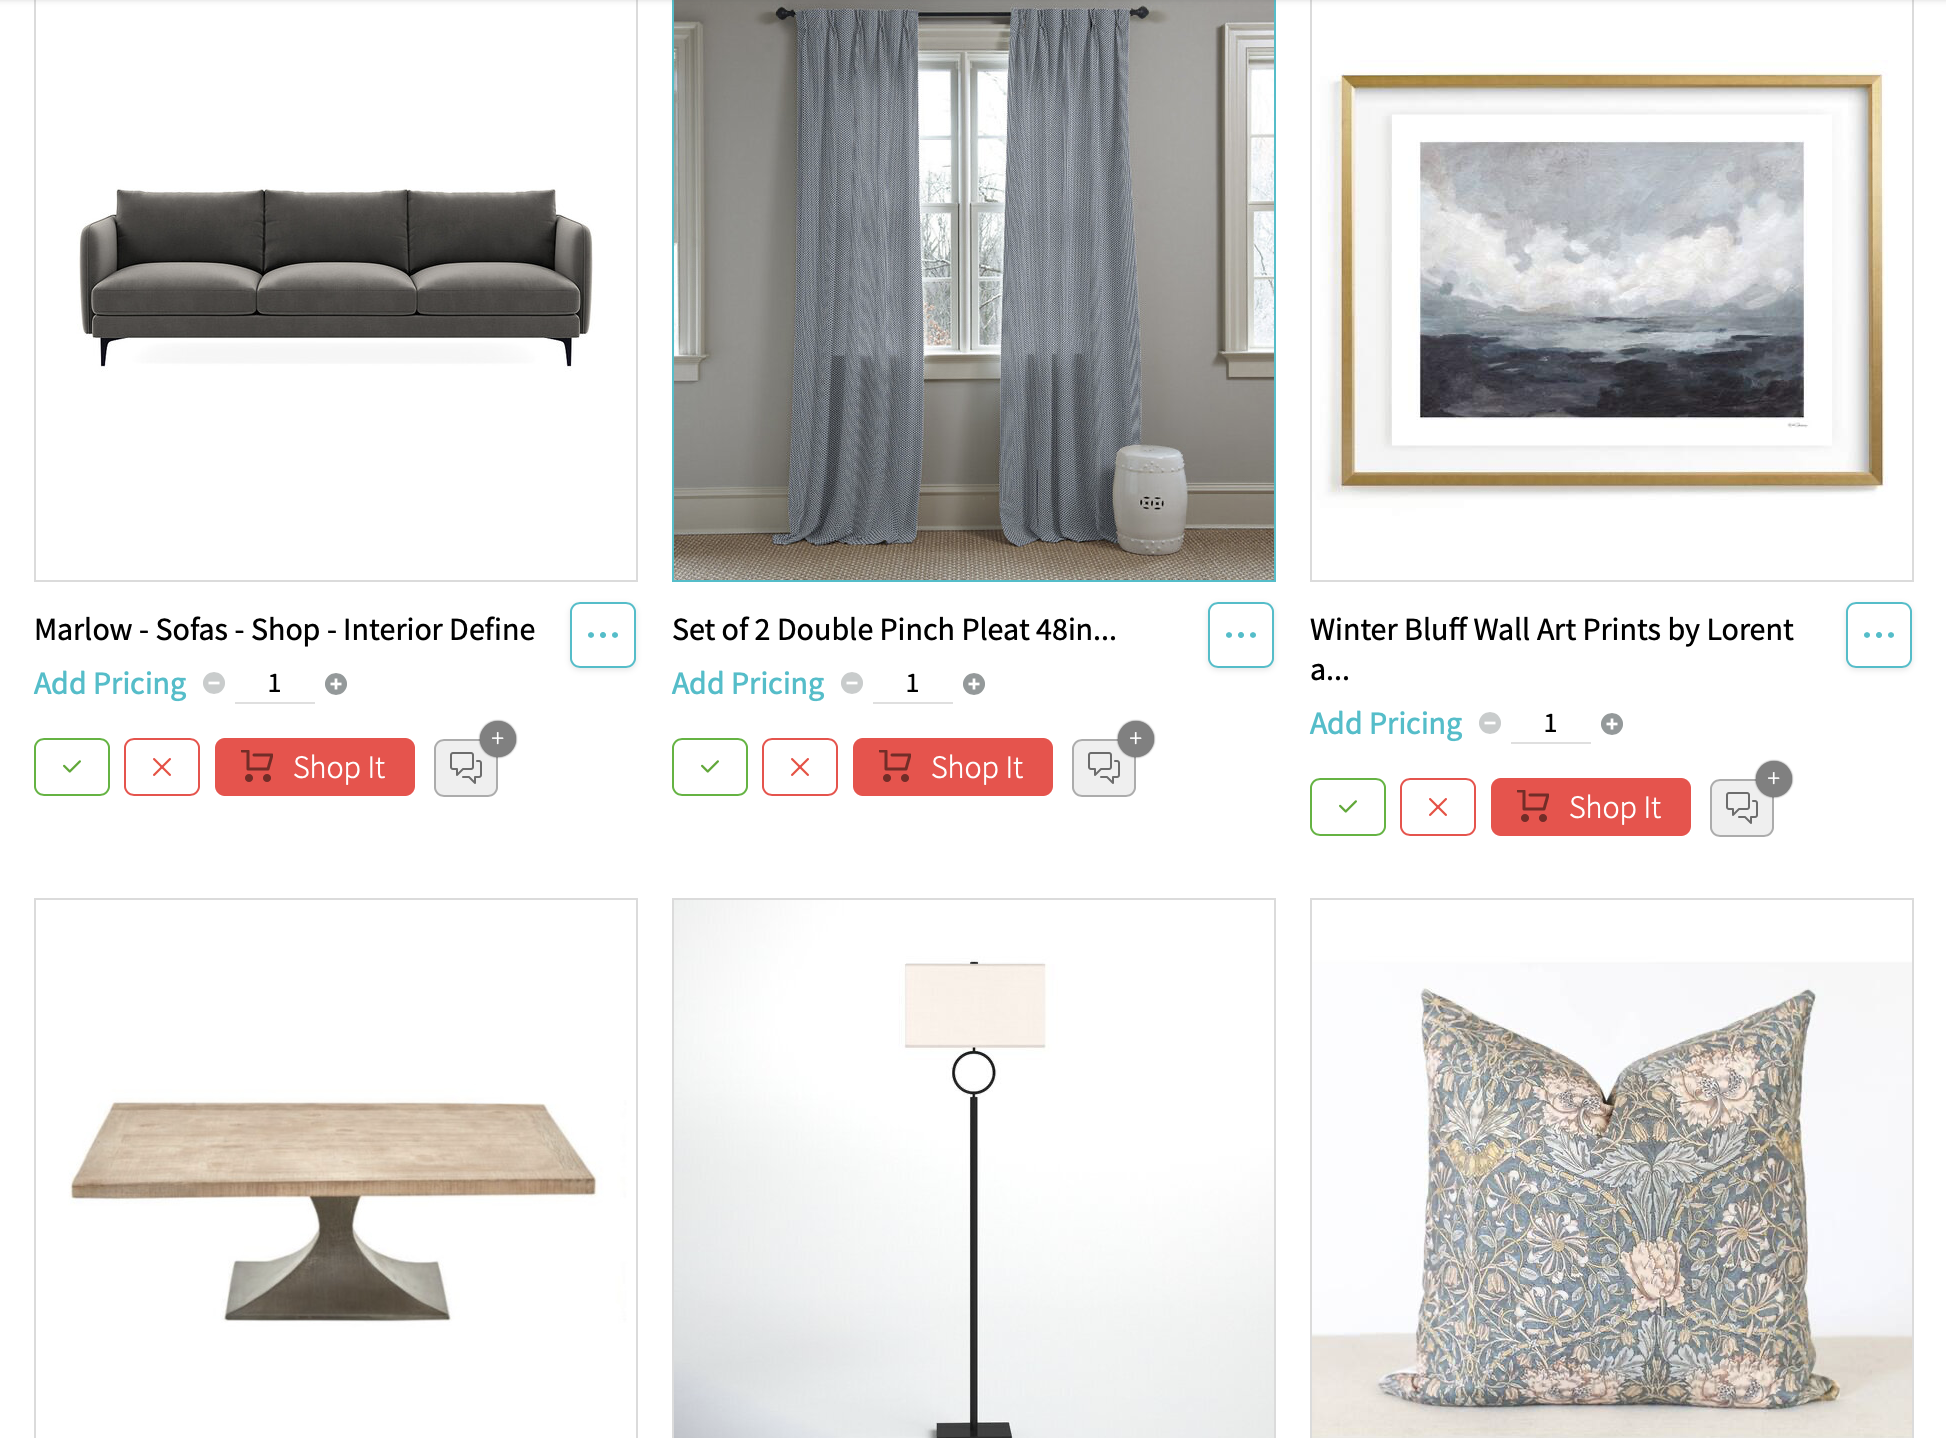
Since you’re in charge of the purchasing, you have all the control here. You can purchase items at your leisure, with your credit card, on your own time.
That’s it my friend: you order the items and arrange them the way I’ve arranged them on your design board. I promise you, it’s that easy!
………………………….
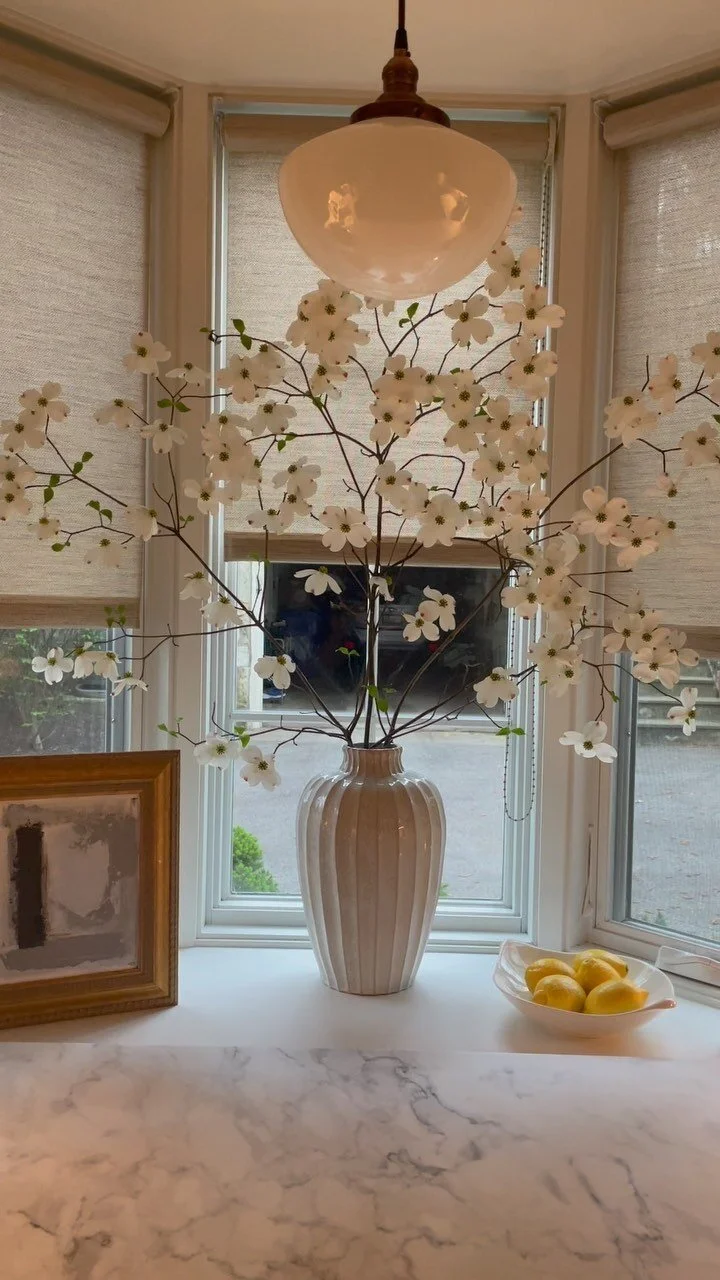
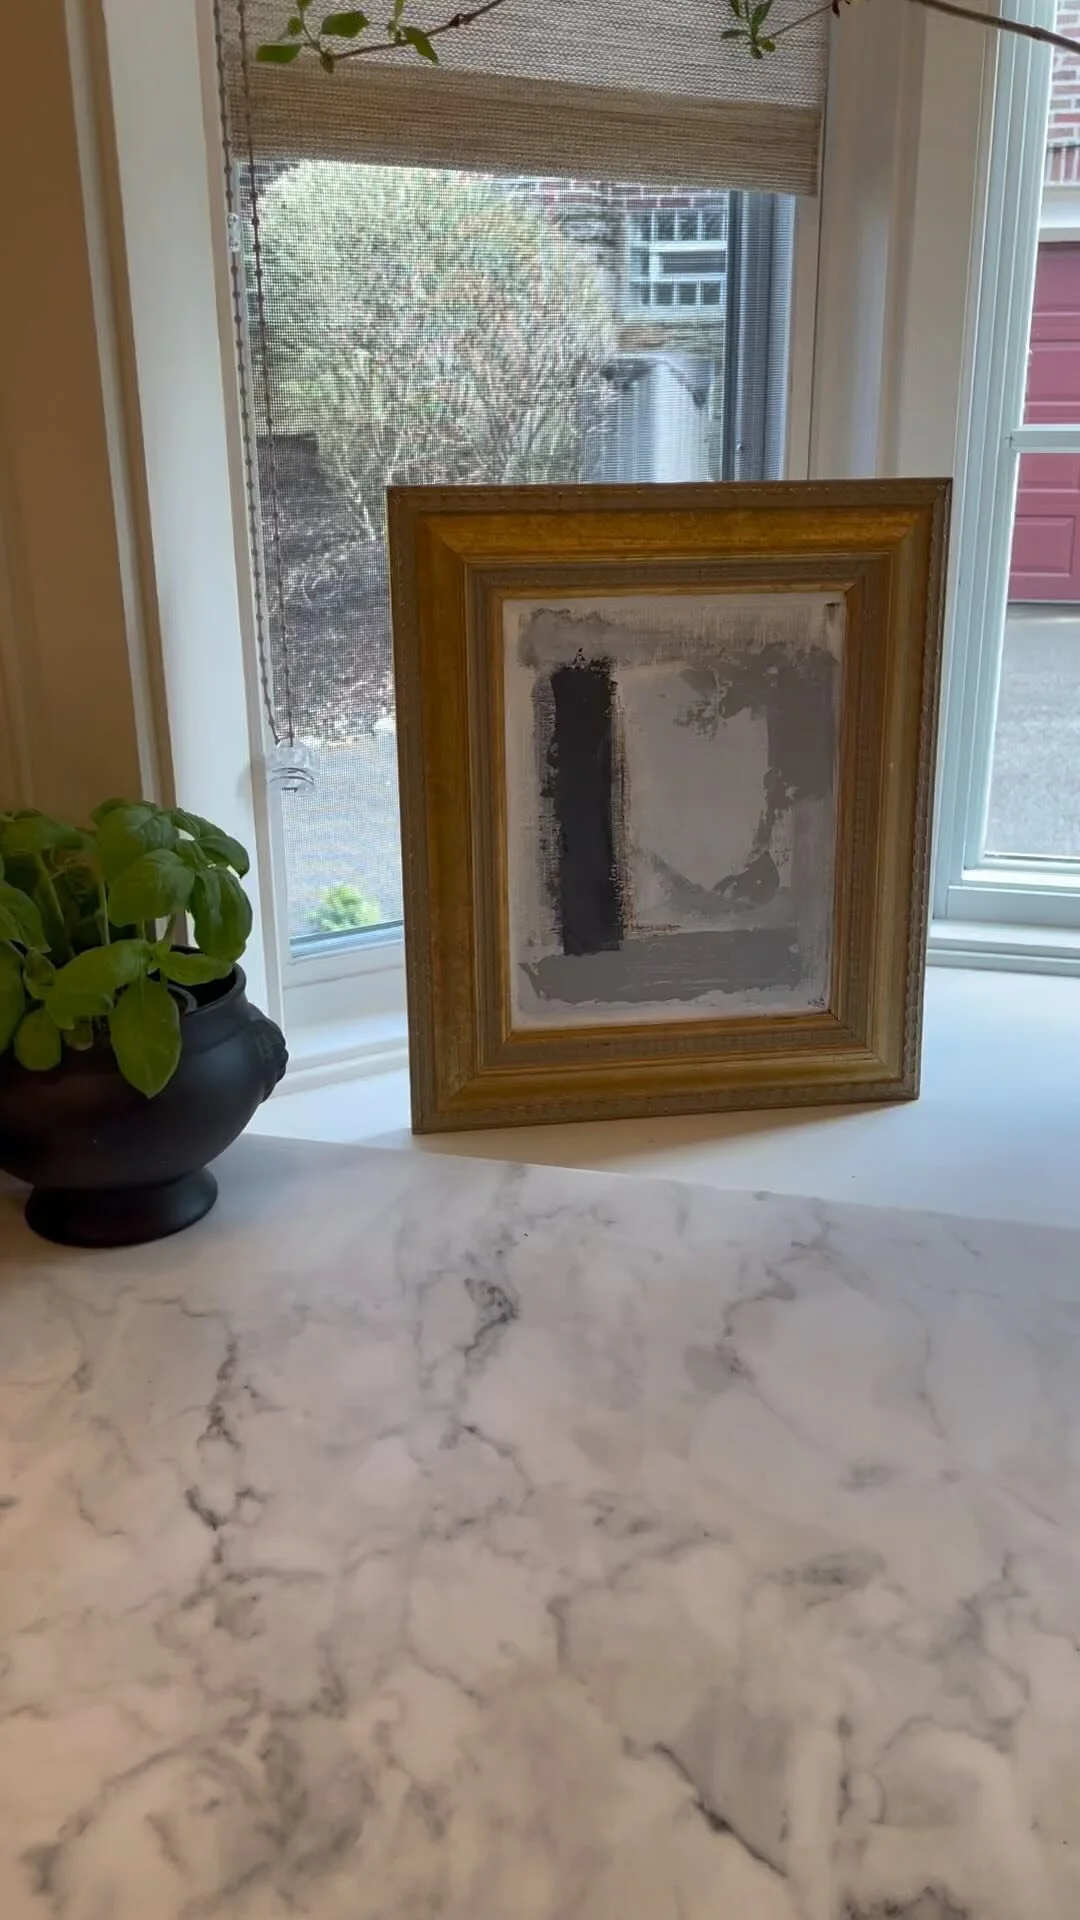
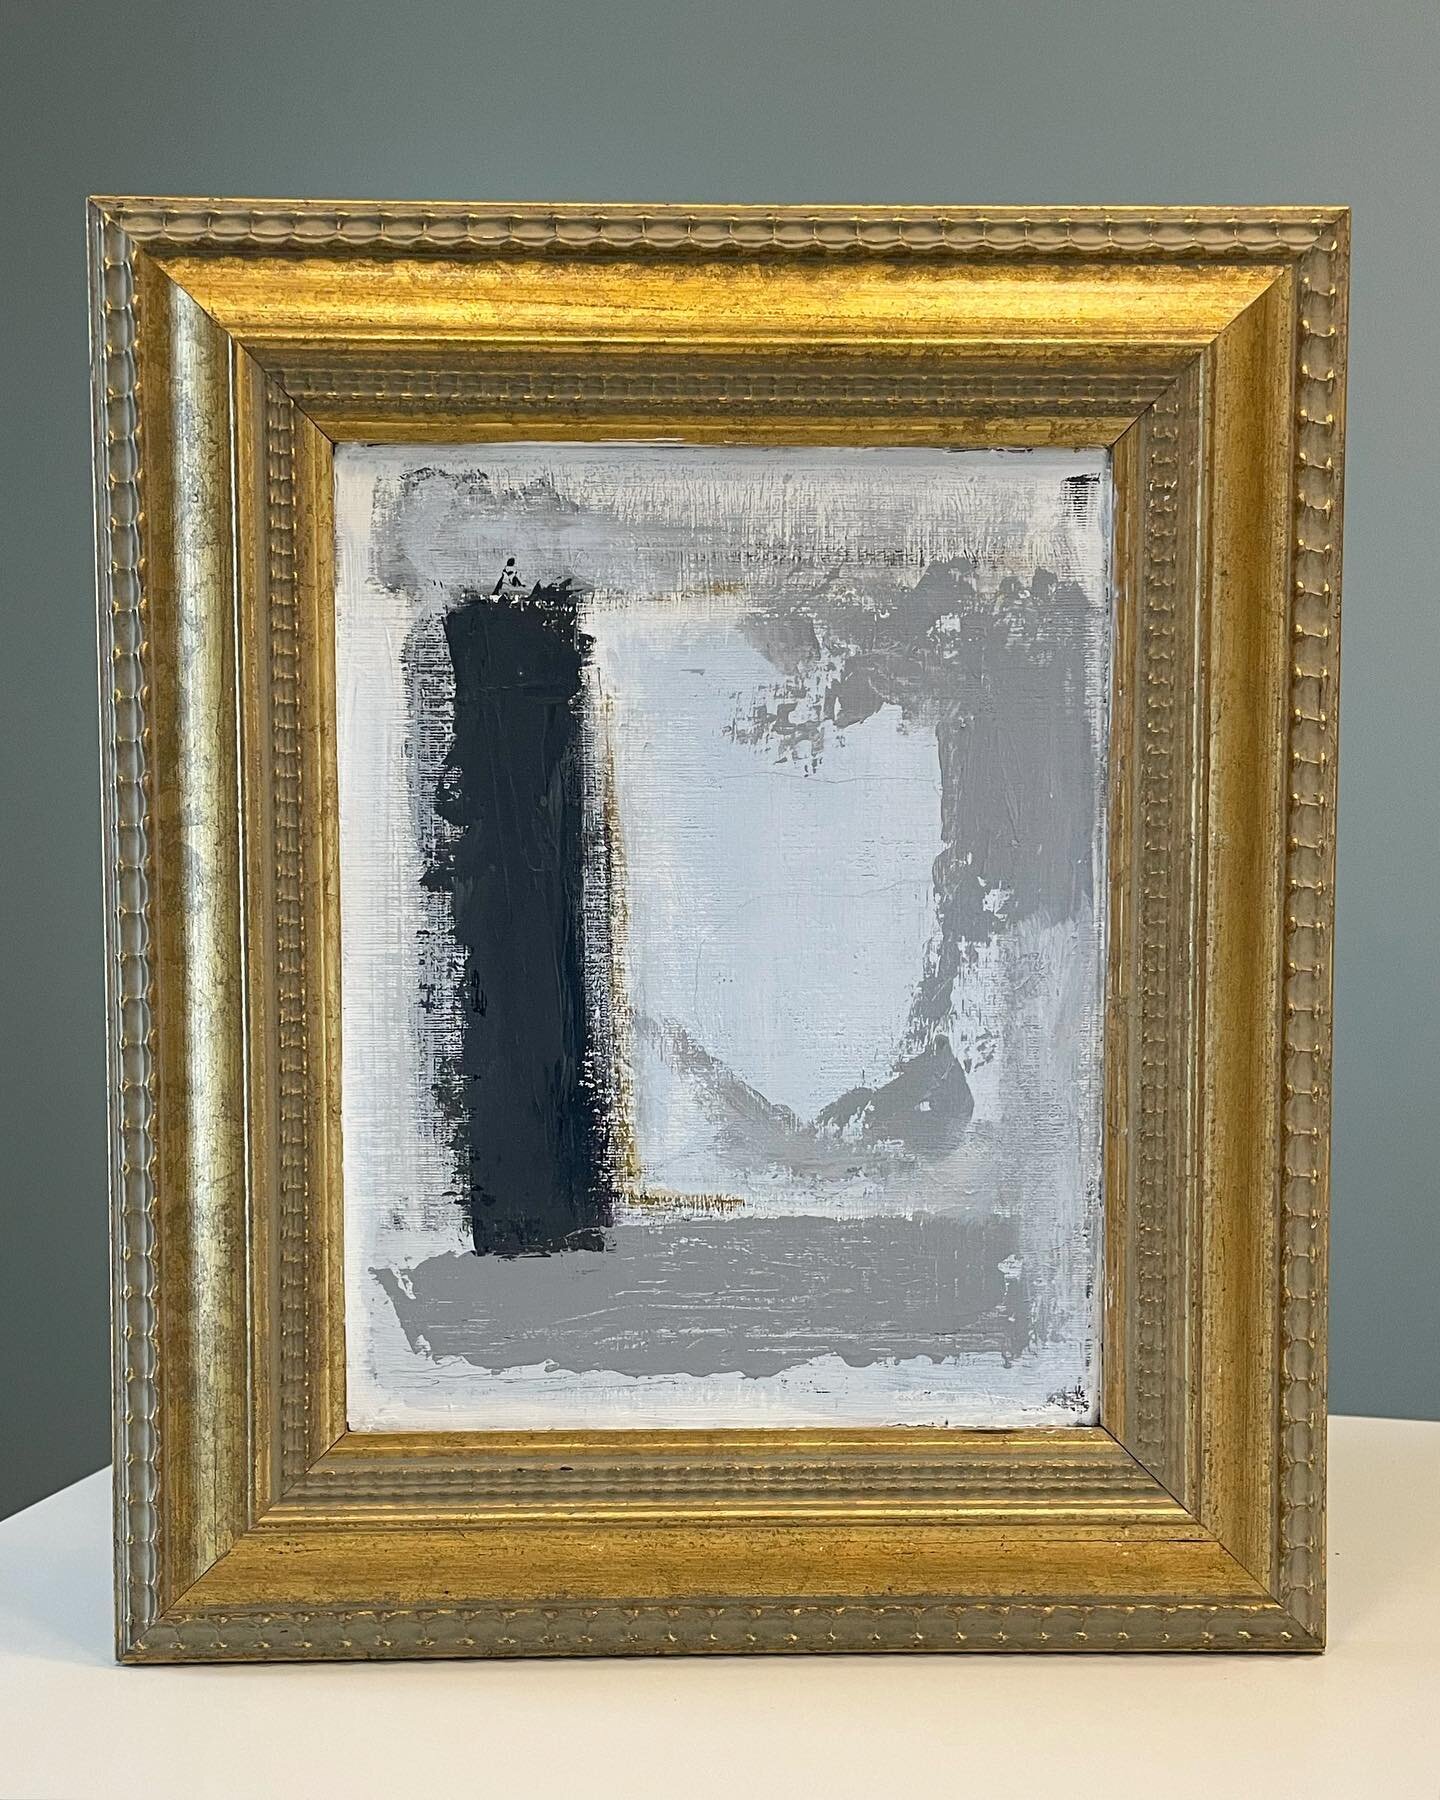
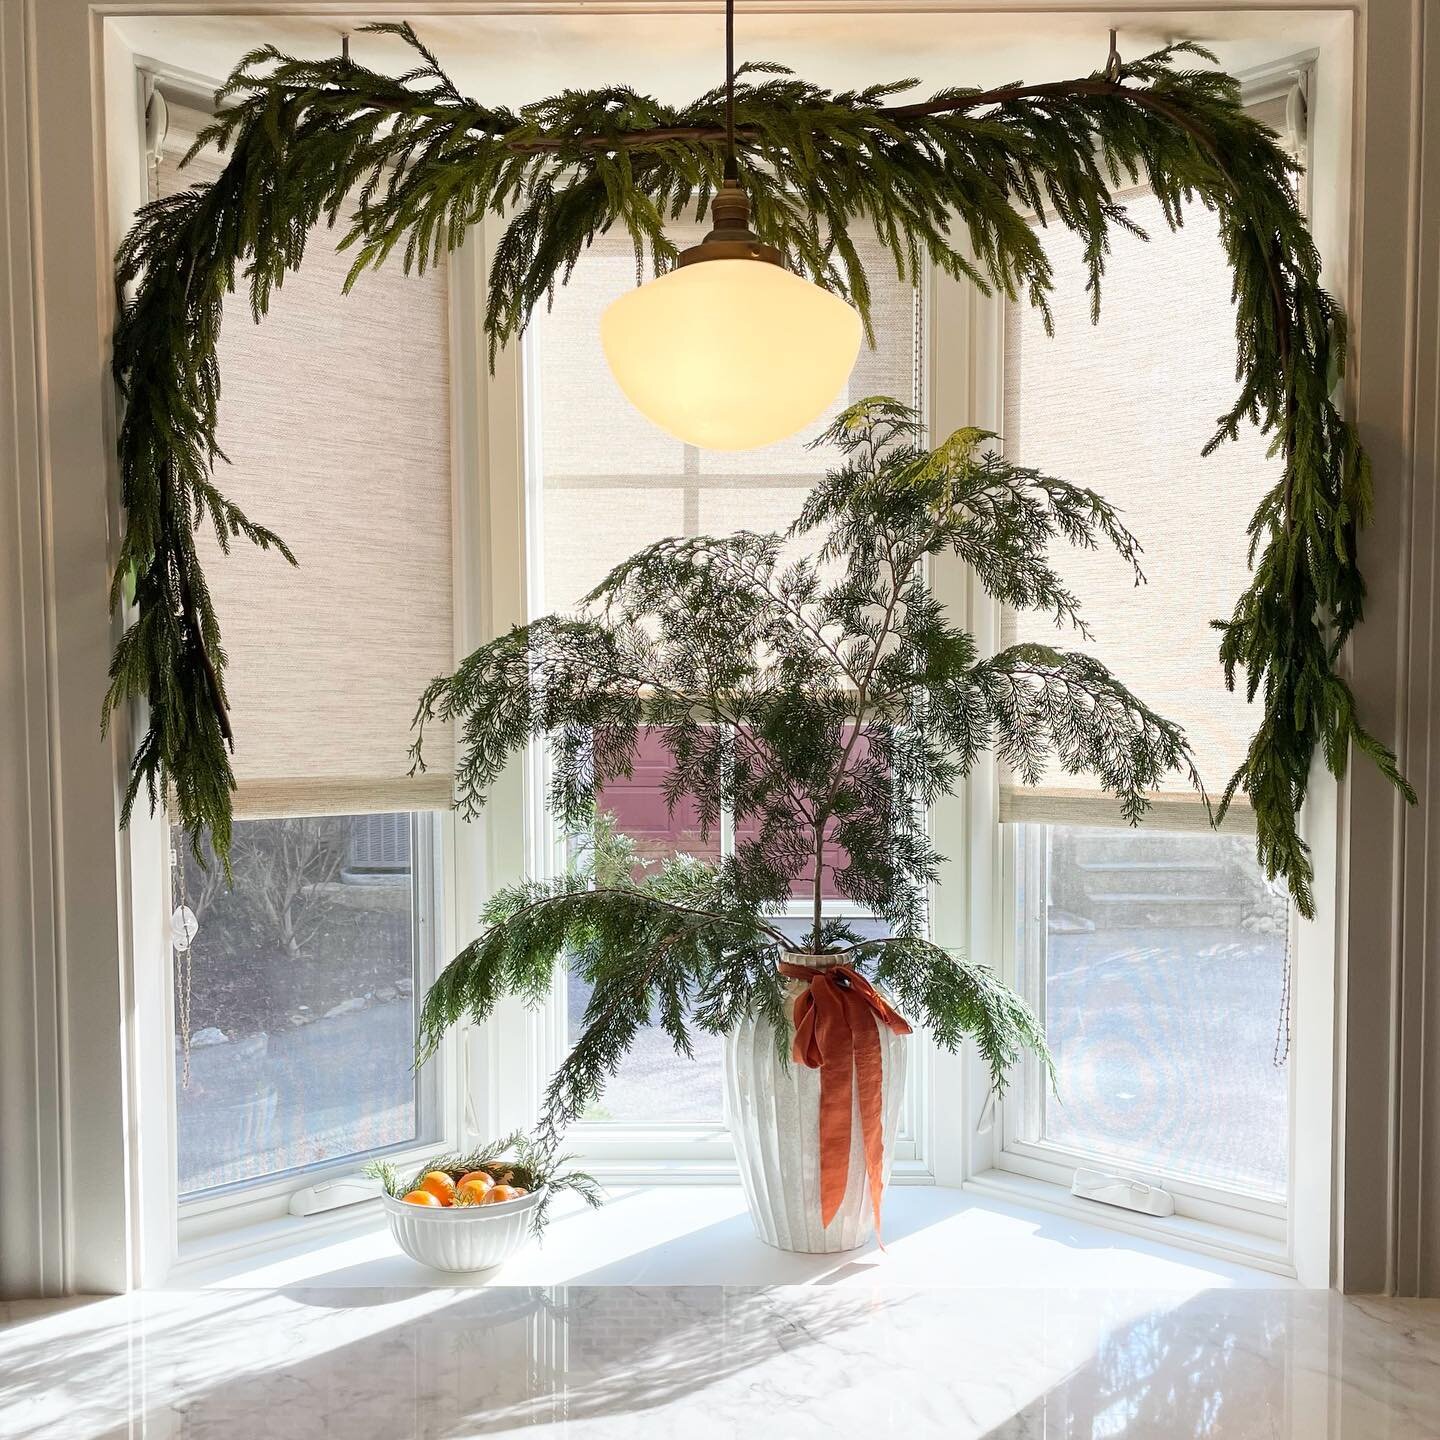
Keep in mind that I don’t have to do a whole room for you if that’s not what you need. I’ve had clients that I only source art for. I had another who needed island pendant lights and a kitchen cabinet color. One of my clients hires me just for paint colors.
Maybe you just have one monkey on your back: like you’re trying to decide between four different stools for your kitchen. Don’t exhaust yourself in the overwhelm of decisions like this. I easily can guide you through which one will work best in your space, and perhaps even suggest a new alternative.
If fear of the unknown is stopping you from hiring me (or any other stylist), I totally get it. I’ve been there many times. The good news is though, there’s really nothing to fear. Hiring me to style your home might feel like a leap of faith at first, but doing so will have you wondering why you didn’t reach out much sooner (see testimonials).
If you need help, I’m here, just send me an email: sara@sarasmithinteriors.com. I’d love to get you one step closer to a home you love.
Wishing you a beautiful week ahead.
-Sara